
+86 18116360585
- Chinese
- French
- German
- Portuguese
- Spanish
- Russian
- Japanese
- Korean
- Arabic
- Irish
- Greek
- Turkish
- Italian
- Danish
- Romanian
- Indonesian
- Czech
- Afrikaans
- Swedish
- Polish
- Basque
- Catalan
- Esperanto
- Hindi
- Lao
- Albanian
- Amharic
- Armenian
- Azerbaijani
- Belarusian
- Bengali
- Bosnian
- Bulgarian
- Cebuano
- Chichewa
- Corsican
- Croatian
- Dutch
- Estonian
- Filipino
- Finnish
- Frisian
- Galician
- Georgian
- Gujarati
- Haitian
- Hausa
- Hawaiian
- Hebrew
- Hmong
- Hungarian
- Icelandic
- Igbo
- Javanese
- Kannada
- Kazakh
- Khmer
- Kurdish
- Kyrgyz
- Latin
- Latvian
- Lithuanian
- Luxembou..
- Macedonian
- Malagasy
- Malay
- Malayalam
- Maltese
- Maori
- Marathi
- Mongolian
- Burmese
- Nepali
- Norwegian
- Pashto
- Persian
- Punjabi
- Serbian
- Sesotho
- Sinhala
- Slovak
- Slovenian
- Somali
- Samoan
- Scots Gaelic
- Shona
- Sindhi
- Sundanese
- Swahili
- Tajik
- Tamil
- Telugu
- Thai
- Ukrainian
- Urdu
- Uzbek
- Vietnamese
- Welsh
- Xhosa
- Yiddish
- Yoruba
- Zulu
- Kinyarwanda
- Tatar
- Oriya
- Turkmen
- Uyghur


Choose a digital torque wrench for bicycle maintenance by matching it to the exact jobs you intend to perform: the specified torque, the required bit or tool interface, the tightening direction, and the space available around the fastener. A wrench that reaches a pedal installation torque may still be unsuitable for a low-torque adjustment. Likewise, a kit with many accessories may lack the particular attachment needed for one component.
The useful starting point is a service list, followed by a check of which tasks each tool can actually cover. YOUBAR supplies digital torque wrenches and sets that can be evaluated against that list. The following examples show how to make the comparison without treating a general bicycle torque chart or a kit’s piece count as proof of compatibility.
Build a Service List by Component and Task
Record the component manufacturer and model before collecting torque values. Then identify the precise fastening operation. “Crank maintenance” is too broad: installing a preload cap and securing an arm can require different torque ranges, interfaces, and assembly checks.
Separate Different Fastening Tasks Within the Same Component
The examples below come from identified component instructions. They illustrate tool-selection decisions; they are not torque recommendations for other bicycles or a substitute for the complete installation procedure for your component.
| Component and task | Specified torque and interface | What the tool comparison must address |
|---|---|---|
| Shimano FC-R9100, FC-R8000 or FC-R7000 crank cap installation | 0.7–1.5 N·m; SHIMANO TL-FC16 or TL-FC18 cap tool | Very low torque and a dedicated cap interface. A standard hex-bit assortment does not establish coverage. |
| The same cranksets: two left crank arm fixing screws | 12–14 N·m; 5 mm hex | A separate clamping task with alternating tightening stages and a stopper-plate check. |
| Zipp Service Course SL ST-SC-SL-B2 aluminum stem: four-bolt faceplate | 5 N·m under the aluminum-stem branch of the applicable manual; T25 | Access to all four bolts, the specified contact preparation, and the required faceplate gap. |
| Shimano PD-M8100: pedal axle installation into the crank | 35–55 N·m; 8 mm hex from the inboard side | A higher torque range, correct measurement direction, and clearance between the tool, crank and frame. |
A practical service list should also record the manual revision or instruction source used, the tightening stage, and any special attachment. Add routine tasks first. There is little value in buying around a maximum torque that your maintenance work never requires while leaving your most frequent low-torque jobs unsupported.
Read the Installation Conditions Behind the Torque Value
A torque figure belongs to an assembly procedure. Surface preparation, component position and tightening sequence help define what that figure means. The wrench measures applied torque; it does not confirm that the joint was assembled correctly.
Distinguish Preload Adjustment From Final Clamping
For these Shimano cranksets, setting the cap and tightening the arm’s fixing screws are separate operations. The stopper plate and pin must also be positioned correctly, and the screws tightened alternately in stages. These requirements may call for a separate cap tool; a recorded torque peak cannot verify the mechanical checks.
Keep Surface Preparation and Tightening Sequence With the Specification
For the identified Zipp stem, the instructions specify friction paste at the designated stem, faceplate and handlebar contact surfaces, together with an alternating tightening sequence and equal upper and lower faceplate gaps. Those conditions belong with the torque value in the service list. They must not be generalized to every stem design.
Similarly, a carbon component does not have a universal “carbon torque.” Check the approved component combination and its installation instructions. Thread lubricant and friction paste on a clamping surface have different roles; applying one where the other is specified changes the assembly conditions.
If a component carries a maximum torque marking, establish how that limit relates to its installation procedure. Do not turn a limit into an automatic target or invent a lower setting to compensate for uncertain compatibility. Resolve the component requirement before deciding whether a wrench covers the job.
Match the Working Range and Measurement Direction to the Task
The important range is the range that supports your actual tightening requirements under the tool’s documented conditions. A large maximum alone says little about low-torque suitability, and extra display digits do not establish measurement accuracy.
Check the Lower Working Limit as Carefully as the Maximum
The model table for YOUBAR’s ratchet digital torque wrench includes the following nominal ranges and drive sizes. These are individual model listings, not confirmation of the wrench supplied in a particular set.
| Model | Listed torque range | Square drive |
|---|---|---|
| YBS-06 | 0.3–6 N·m | 1/4 inch |
| YBS-12 | 0.6–12 N·m | 1/4 inch |
| YBS-30 | 1.5–30 N·m | 3/8 inch |
| YBS-60 | 3–60 N·m | 3/8 inch |
Use the table first to rule out obvious mismatches. A listed minimum above a required setting excludes that setting. A model ending at 12 N·m cannot support a selected target above 12 N·m within the crank’s specified interval. Choose the target from the assembly requirement, then verify that the tool supports it under the documented measurement conditions.
A numerical overlap is only the next candidate check. Confirm the model’s documented accuracy interval, direction and attachment arrangement before treating the task as covered. For a dedicated cap interface, overlap between torque ranges alone is especially incomplete evidence.
Distinguish Range, Accuracy Coverage and Display Resolution
| Specification | What it helps establish | What to verify |
|---|---|---|
| Listed torque range | The stated span for the model | Whether the required setting falls within it |
| Accuracy statement and applicable interval | The stated measurement error under defined conditions | The covered interval, percentage basis, direction and other conditions |
| Display resolution | The smallest displayed increment | Whether the setting and reading are practical for the task; resolution alone does not prove accuracy |
| Measurement direction | Whether torque can be measured in the required direction | The model’s clockwise and counterclockwise specifications |
An accuracy percentage must have a defined basis. A percentage of the reading and a percentage of full scale are different specifications, particularly near the low end. Ask for the exact model documentation instead of applying a universal percentage-of-range rule to every digital wrench.
The joint’s acceptable tightening requirement is also separate from the tool’s accuracy statement. A tool specification does not automatically create an additional tolerance around the component’s installation value.
Check the Complete Connection From the Wrench to the Fastener
A torque wrench, its attachment and the fastener form one working arrangement. Evaluate that arrangement in the intended position, not just as a list of drive and bit sizes.
Match the Bit, Drive and Engagement Geometry
A 1/4-inch square drive describes the connection on the wrench; it does not identify the hex or Torx size needed by the bolt. Check the full chain: wrench drive, any adapter or holder, the required bit or socket, and the fastener interface. Engagement depth and attachment length can matter as much as the nominal size.
Different pedals show why the interface deserves its own check. The cited Shimano manual specifies an 8 mm hex for PD-M8100 pedal installation, while PD-ME700 and PD-MT520 use 15 mm external wrench flats for the same stated torque interval. Possessing the hex bit does not provide the external-flats attachment.
If an offset attachment changes the effective lever length, confirm the applicable configuration and torque-setting correction. A drive adapter that connects two pieces does not, by itself, prove that the complete setup has the required capacity or measurement suitability.
Check Access and Tightening Direction in the Working Position
Before purchasing, consider whether the attachment can seat fully and the handle can move without contacting the frame, crank, cables or adjacent components. A long bit may reach a recessed screw but make the tool too tall for another location. A compact tool may improve access yet lack the range needed for a different job.
For the pedal models discussed here, the right pedal has a right-hand thread and the left pedal a left-hand thread. Establish the required measuring direction from the engaged tool’s working position. A reversible ratchet is a mechanical feature; it is not sufficient evidence that torque measurement is specified in both directions.
Evaluate a Digital Torque Wrench Set Against the Service List
YOUBAR’s 26-piece 1/4-inch drive digital torque wrench set is presented for applications including bicycle work. Evaluate it as a candidate configuration by checking the supplied wrench and accessories against your service list.
Confirm the Included Wrench and Accessory Inventory
Request the exact wrench model, its applicable torque specifications and an itemized accessory list. Then match each required interface by size and type. Do not infer a T25 bit, a particular hex size, a pedal attachment or a crank-cap tool from the overall piece count.
Keep the result in a short coverage table. Each row should represent one maintenance operation, with three possible outcomes:
| Outcome | Evidence required | Decision |
|---|---|---|
| Verified covered | The documented torque interval and direction fit; the correct attachment and working clearance are established | Include the configuration in the planned service setup |
| Verified not covered | A known requirement falls outside the tool specification, or the required interface cannot be provided by the configuration | Select another tool or a verified alternative attachment |
| Insufficient information | The supplied model, relevant specification, accessory or fit has not been established | Obtain that information before counting the task as covered |
This separates a useful set from an assumed complete solution. A 26-piece designation describes the package; it does not establish coverage of 26 maintenance operations.
Check the Display and Alerts in the Actual Work Position
The YOUBAR ratchet digital wrench lists PEAK and TRACK modes, preset torque targets, and audible and visual alerts. For bicycle work, assess whether the display and alerts can be noticed while the tool is properly engaged. A screen hidden behind a crank or an alert difficult to hear in a workshop changes the practical handling requirements.
Readability is useful only alongside suitable measurement specifications and access. Likewise, a stored result can support a work record, but it cannot confirm the correct bit, clamp preparation or assembly sequence. Verify any required recording functions for the selected model.
Choose a Tool Setup That Matches Your Maintenance Scope
For a small set of known adjustments, one digital torque wrench may be sufficient when every task meets its documented range, direction and attachment requirements. Keep any excluded work explicit rather than describing the tool as suitable for the whole bicycle.
When the service list combines very low-torque adjustments with higher-torque pedal work, separate tools may provide a better match. That decision should follow the actual task list, including specialized interfaces. Buying two ranges still leaves a gap if neither tool can engage the required component.
For a workshop maintaining several component families, organize coverage by task and configuration. Standardize the component instructions and accessory identification alongside the wrench selection. This makes it easier to see whether a newly encountered part needs another attachment, a different range, or a different procedure.
Use YOUBAR’s torque wrench sets to compare available packages. To check a configuration, discuss your bicycle maintenance requirements with YOUBAR. Provide the component models, exact fastening tasks, required torque values and directions, attachment sizes, access constraints and quantity. Those details make the next step a configuration check against real maintenance work.
Previous News
Digital Torque Wrenches for Mini-Splits: Flare-...Next News
How to Use a Digital Torque Wrench: Setup, Tigh...Feature Product
-
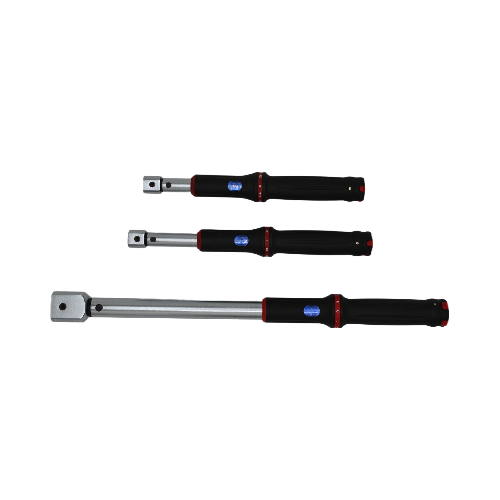 XS Series Interchangeable Head Window Style Cli...
TENGTUO ELECTRONIC TECHNOLOGY Item NO...
-
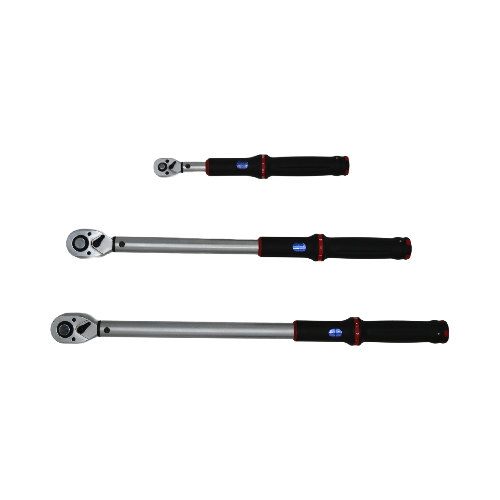 XS Series Window Style Click Torque Wrench
TENGTUO ELECTRONIC TECHNOLOGY Item NO...
-
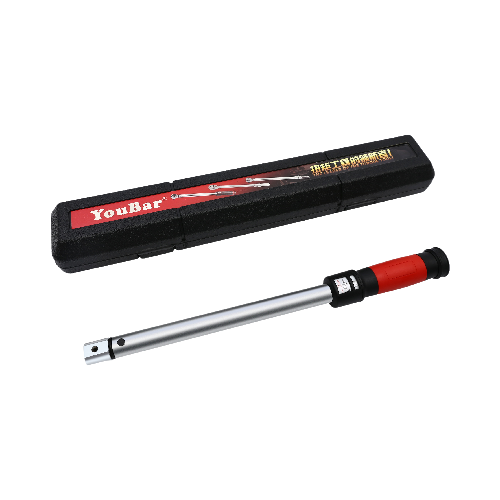 SL Series Interchangeable Head Window Style Cli...
TENGTUO ELECTRONIC TECHNOLOGY item NO...